How do you install the Yardian Pro?
System Overview
Welcome to the installation guide for your irrigation system. You can check out the this article to gain an understanding of your irrigation system.
Installation Procedure
Step 1. Replace Your Old Controller
Take a picture of your current wiring. This will help you identify the correct sequence of wires.
- Master Valve – Optional
- Zones – Wires are Connected to Zone Valves
- Common Wire or Ground Wire
- Rain Sensor – Optional
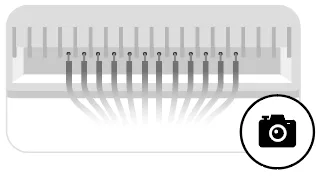
Disconnect your old controller and remove sprinkler wires. Adhere a numeric labeling sticker to tag each associated wire for easy identification.
Remove your old controller from the wall.
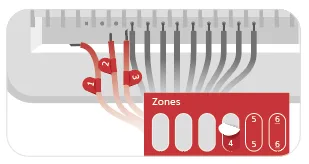
Step 2. Install Your Yardian Controller
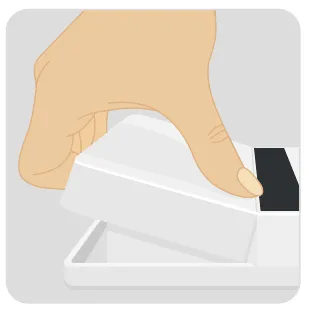
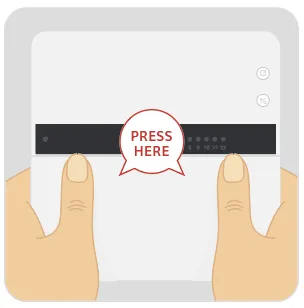
Open the top cover.
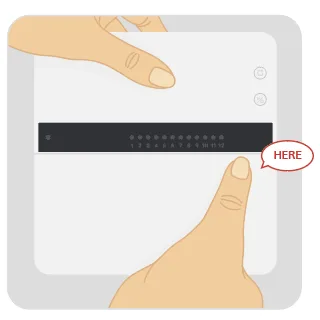
Place your thumb on the top right corner to make it easier to open the cover.
Mount your Yardian to the desired location.
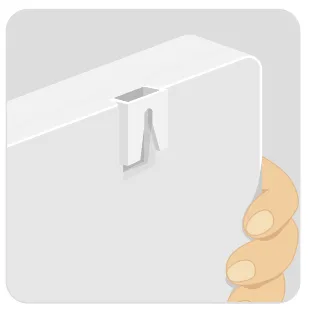
Mark the wall for the screws. Mount the Yardian with the screws.
Connect sprinkler wires according to the corresponding labels.
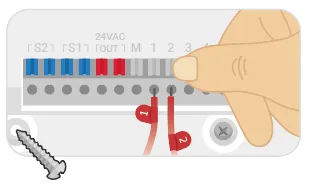
Note 1:
If you attach more than 1 solenoid to a zone, please
check your solenoid specifications and make sure the
overall current consumption does not exceed 0.9A.

Note 2:
Please specify rain sensor type (normally open or closed) in Yardian app if applicable.
Plug the power cord into the home outlet.
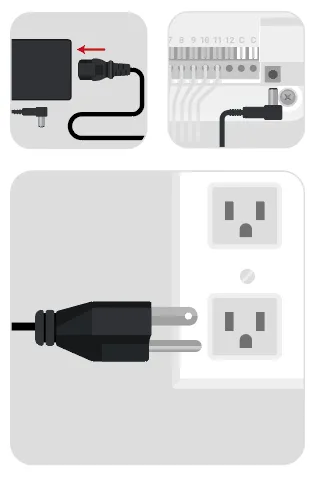
Close the top cover.
CAUTION:
This product contains CR1225 battery. Risk of explosion if the battery is replaced by an incorrect type
Cautions
About Firmware Updates
We are constantly adding new features for the Yardian, so you might see an automatic firmware update once your Yardian is connected to the Internet. The update might occur after 5~10 mins when there are no watering activities (usually activated by “Instant Control”).
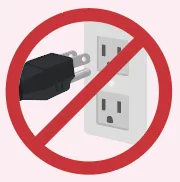
Please DO NOT turn the power off when you see the LED blinking red:

WARNING!
Software may be updated when Yardian is connected to the Internet. Please DO NOT turn off the power when the LED is blinking RED. Interrupting the software update process may result in system malfunction.
